
Shopping Cart
There are no more items in your cart


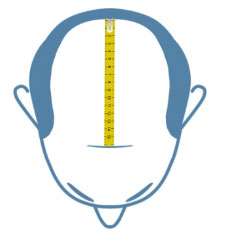
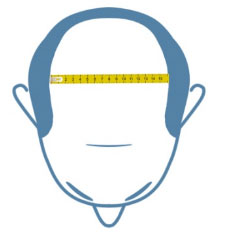
1. Please fill in your dimensions in the below form.
2. Please select the halrstyle you want or attach a halrstyle plcture
3. Please attach the halrstyle picture lf none of the above styles meets vour satisfaction.
Please upload 6 images with no more than 5MB
Comments (0)