
Hey there, dear readers! I hope you're all doing well today. We're about to embark on an exciting before and after tutorial, where we'll witness the transformation of my full Lavivid French lace hair system. We'll remove it, give it a much-needed clean-up, and then expertly re-bond it for a stunning result. So, let's dive right into this journey together.
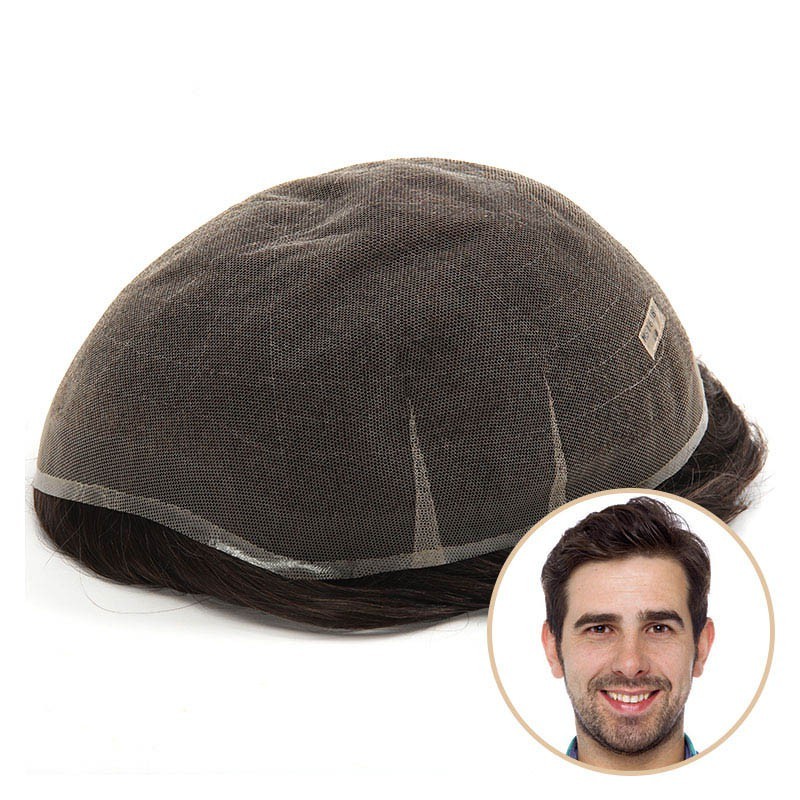
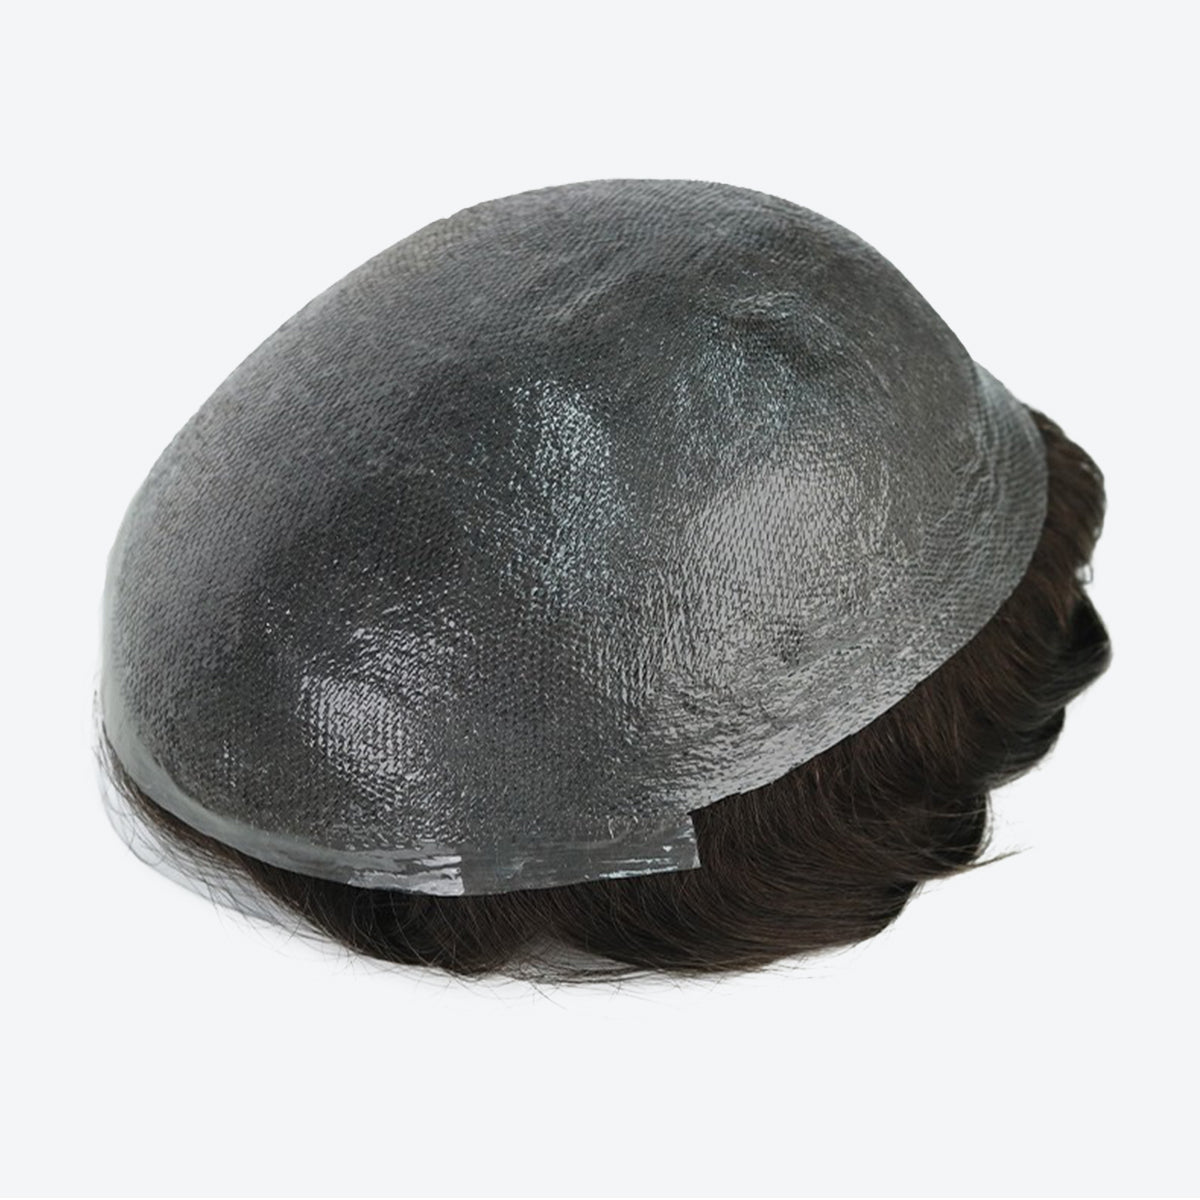
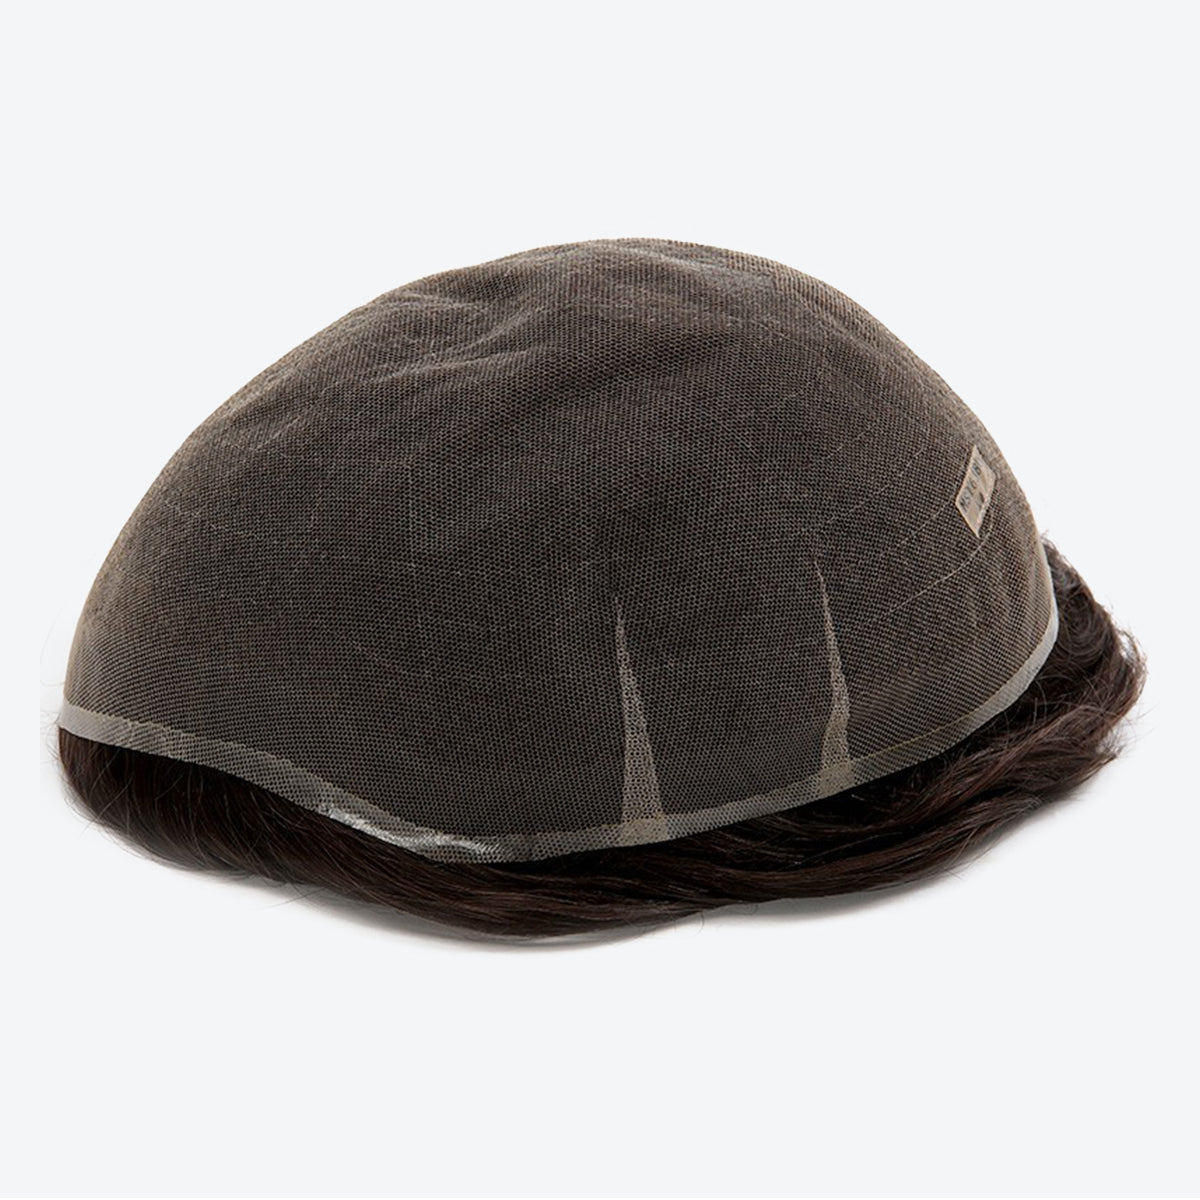
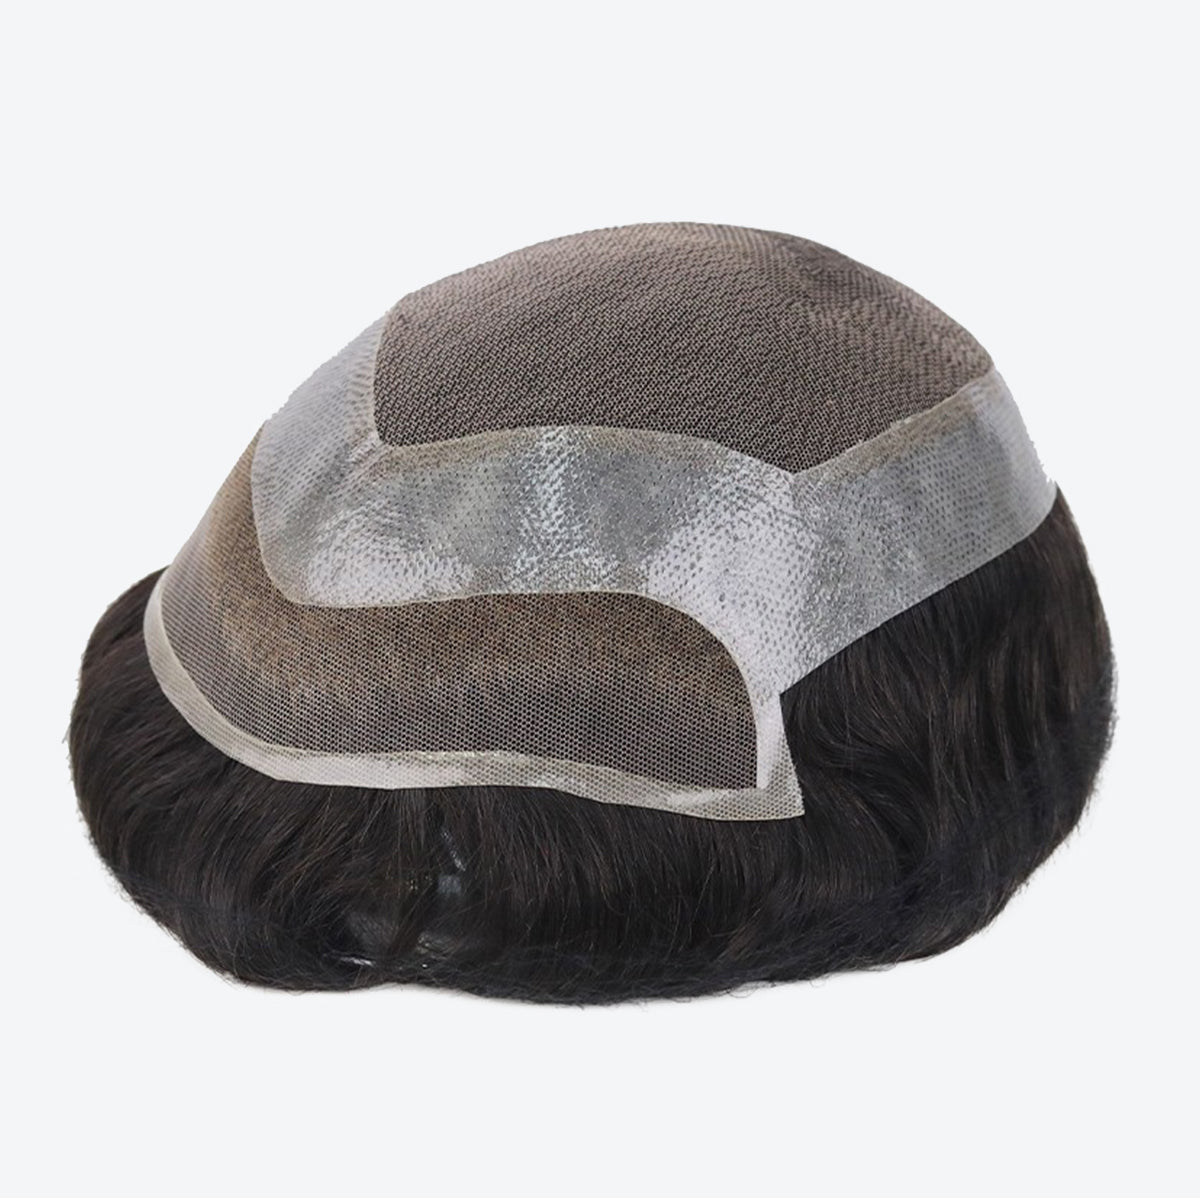
Step 1: Removing the Full French Lace
First things first, whether you opt for C22 or another adhesive, exercise caution during application. Those eye stings are no joke! I've found that covering my eyes while spraying along the hairline and gently working back helps keep my vision clear.
A mirror is a trusty companion in this endeavor, allowing us to monitor progress. As I remove the system, I can already feel it loosening at the front—just what we're after!
Pro tip: If you're using tape, now's the time to gently remove it from the base while it's still on your head. It'll make the cleanup process a breeze.
Step 2: Cleaning and Preparing Your Scalp
With the system off, let's show our scalps some love. I use isopropyl alcohol with over 70% concentration, applying it using cotton balls to remove any tape residue or glue. A refreshing shower helps ensure a thorough cleanse.
For those dealing with fungal buildup, consider using an anti-fungal shampoo, if available in your area. It keeps your scalp healthy, especially during extended wear.
Step 3: Re-bonding Your Hair System
Now comes the thrilling part—the re-bonding process. As you can see, I've shaved the area where the hair system will rest. It's crucial to mark where you want your hairline to be. I personally use a small white line, about three fingers above my forehead.
Before applying the bond, make sure your scalp is clean and dry. Oh, and remember to avoid applying bond over the white pencil mark—that's a mistake we'd rather avoid!
For those with sensitive skin, like me, a scalp protector adds a layer of comfort during bonding. And fear not, it dries rapidly, making the application process a breeze.

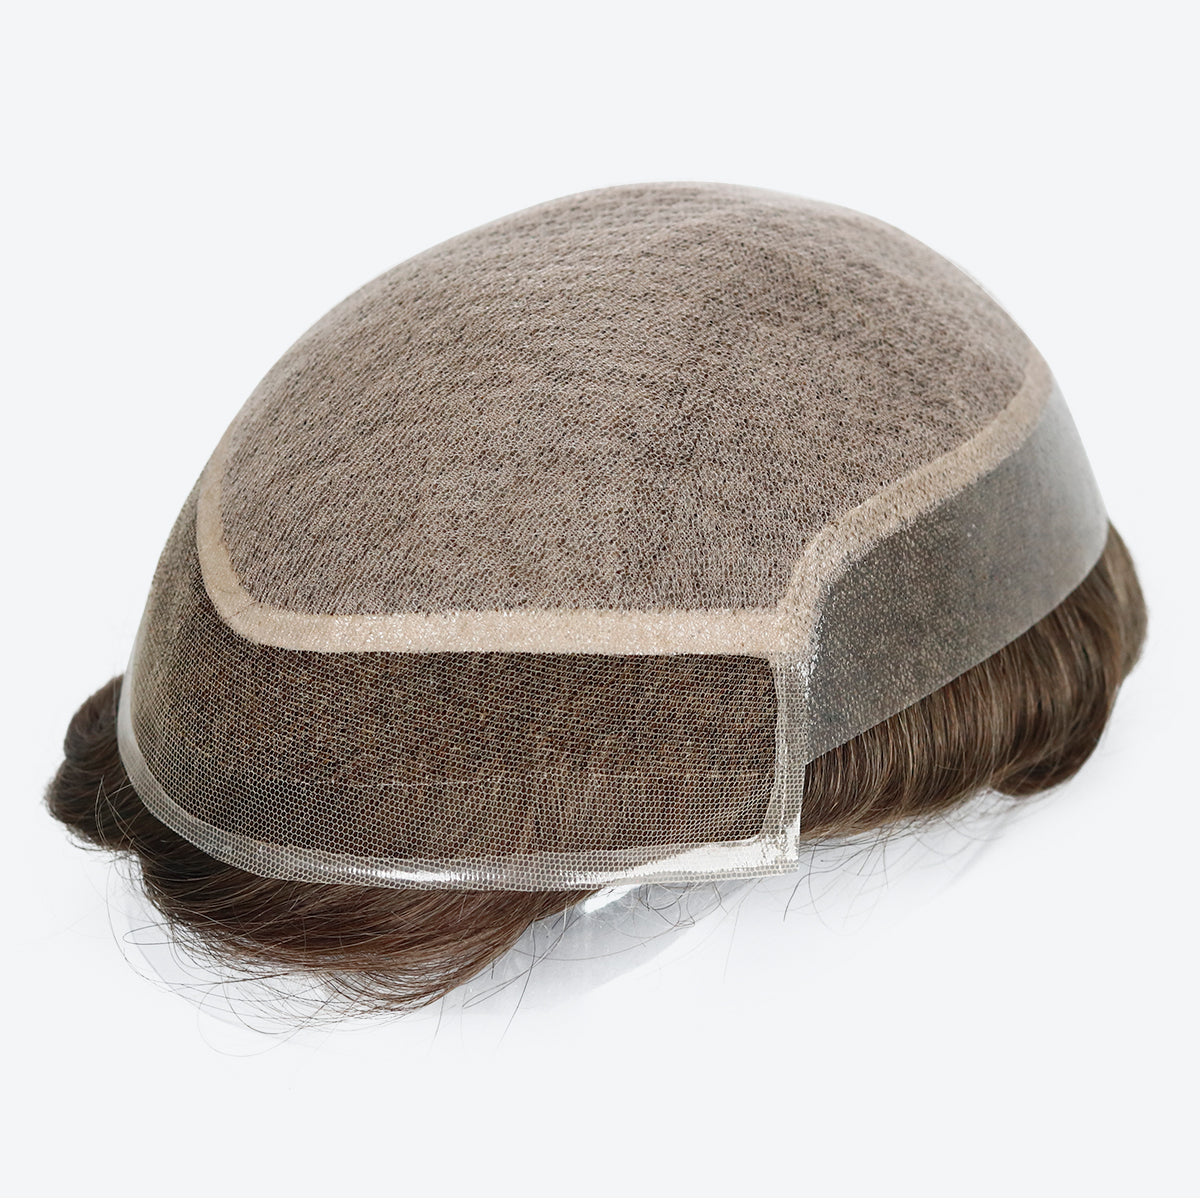
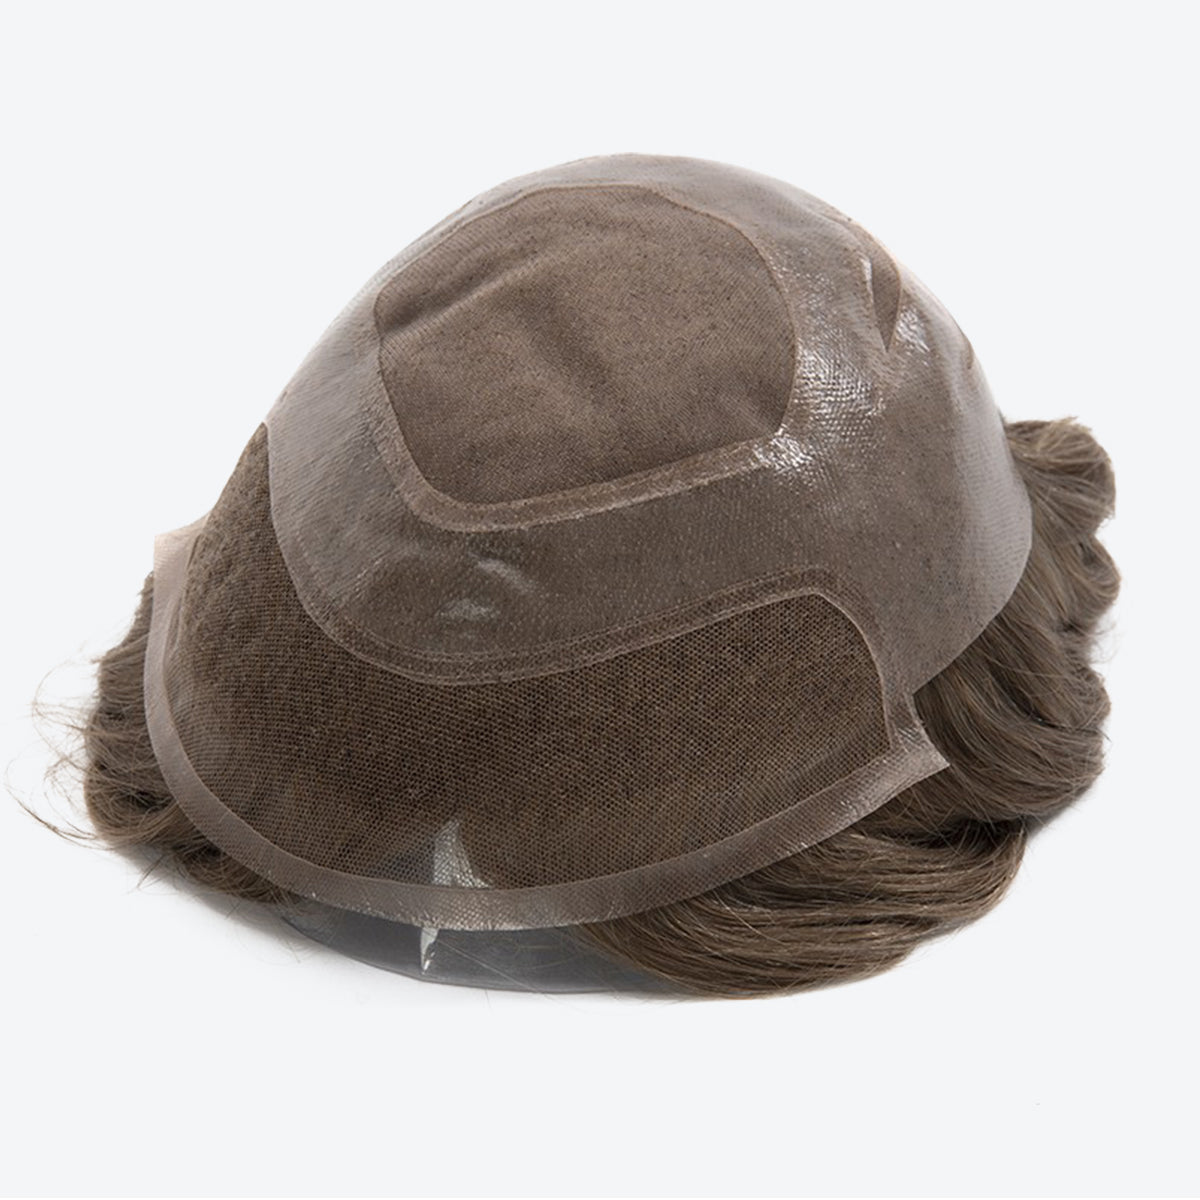
Step 4: Taping Up Your Hair System
Taping your hair system can be an art form. My preferred method involves applying tape around the perimeter for enhanced stability. Sometimes, I'll even add a strip across the middle for extra hold. Remember, each person may have their own technique—some prefer front-to-back, while others go the other way around.
Taking it slow and steady, I align the system precisely where I want it. And there we have it—the system is back in place!
Step 5: Final Touches
Now, I'll gently push down the system to ensure there are no kinks or imperfections. A brush can work wonders for a smooth finish, but we'll save that for later.
And voilà! The before and after transformation is complete, and I'm ready to rock my revamped French lace hair system with absolute confidence!
Always remember, practice and patience are key to mastering this process. If you're new to hair systems, check out one of my previous ariticles where I share my experiences and what it feels like to wear one. Until next time, take care, and bye for now!