



Glue versus tape is not a contest to find the strongest product. It is a base-compatibility decision first and a maintenance decision second. Many first-time wearers ask this before they have opened an attachment kit. That concern is normal. You are not behind, so take your time: the useful trade-off is the method your base can tolerate and the routine you can repeat without rushing removal.
Quick Answer
Start with your base, not a hold claim. For a lace area, a beginner usually starts with compatible hair system tape because liquid glue should never be applied directly to lace mesh. For skin, poly, thin-skin, or full-skin bases, a beginner usually starts with compatible liquid adhesive applied to the scalp; removing strongly bonded tape can stretch or tear delicate material. Mono and hybrid systems need a zone map based on their actual construction. Tape offers controlled placement and localized residue, while glue creates a continuous bond area with more involved cleanup. Oil, sweat, heat, and water can affect either method, so use the current adhesive and remover labels instead of a universal duration promise.
Glue vs Tape at a Glance
| Decision factor | Hair system tape | Liquid hair system glue |
|---|---|---|
| Beginner base rule | Usually the starting method for compatible lace areas. | Usually the starting method for compatible skin/poly areas. |
| Application and learning curve | Pre-cut tabs or contours can make section-by-section placement easier to plan. | Requires a thin, even scalp application and careful compliance with the product's working and drying directions. |
| Repositioning | Separate pieces let you anchor the system in stages, but do not pull bonded tape from a delicate base without remover. | Alignment should be planned before contact; any adjustment window depends on the live product directions. |
| Hairline visibility | Thickness, color, contour, and placement determine whether an edge is visible. | A compatible, even application can avoid a tape edge, but excess product or residue can create shine or buildup. |
| Cleanup and removal | Residue is often concentrated where pieces were placed, though each piece still needs a compatible release method. | Residue may cover a broader bond area and can require a more involved scalp-and-base cleanup. |
| Maintenance preference | Suits wearers who prefer modular pieces and a clearly mapped placement pattern. | Suits wearers comfortable cleaning and reapplying a continuous bond area. |
| Oil, sweat, and environment | Oil or heavy perspiration may show first as lifting at a tab or edge; performance varies by product and preparation. | Oil, heat, or perspiration may show as tackiness, movement, or residue migration; performance also varies by product and preparation. |
| Main avoidable risk | Pulling tape from thin skin/poly can stretch or tear the base. | Applying liquid glue directly to lace mesh can contaminate or damage it. |
Quick Takeaways
- Start with the attachment method that fits the base, not the product described as strongest.
- For a first kit, learn one method instead of combining tape and glue.
- Treat mono and hybrid as construction maps, not as permission to use one method across every zone.
- Tape format affects placement; attachment tape and base-repair tape still do different jobs and are not substitutes.
- Buy the matching remover before the first application, and patch-test the adhesive on a separate day.

Which Adhesive Fits Each Hair System Base?
Read the name of the base on the product page or care card before choosing an adhesive. Similar-looking systems can place different materials at the front, perimeter, and center, so the attachment surface matters more than the product nickname.
If you are not sure which construction you have, pause before applying adhesive and confirm the base diagram or ask LaVivid support.
| Base construction | Beginner starting method | Placement rule | Avoid | Removal priority |
|---|---|---|---|---|
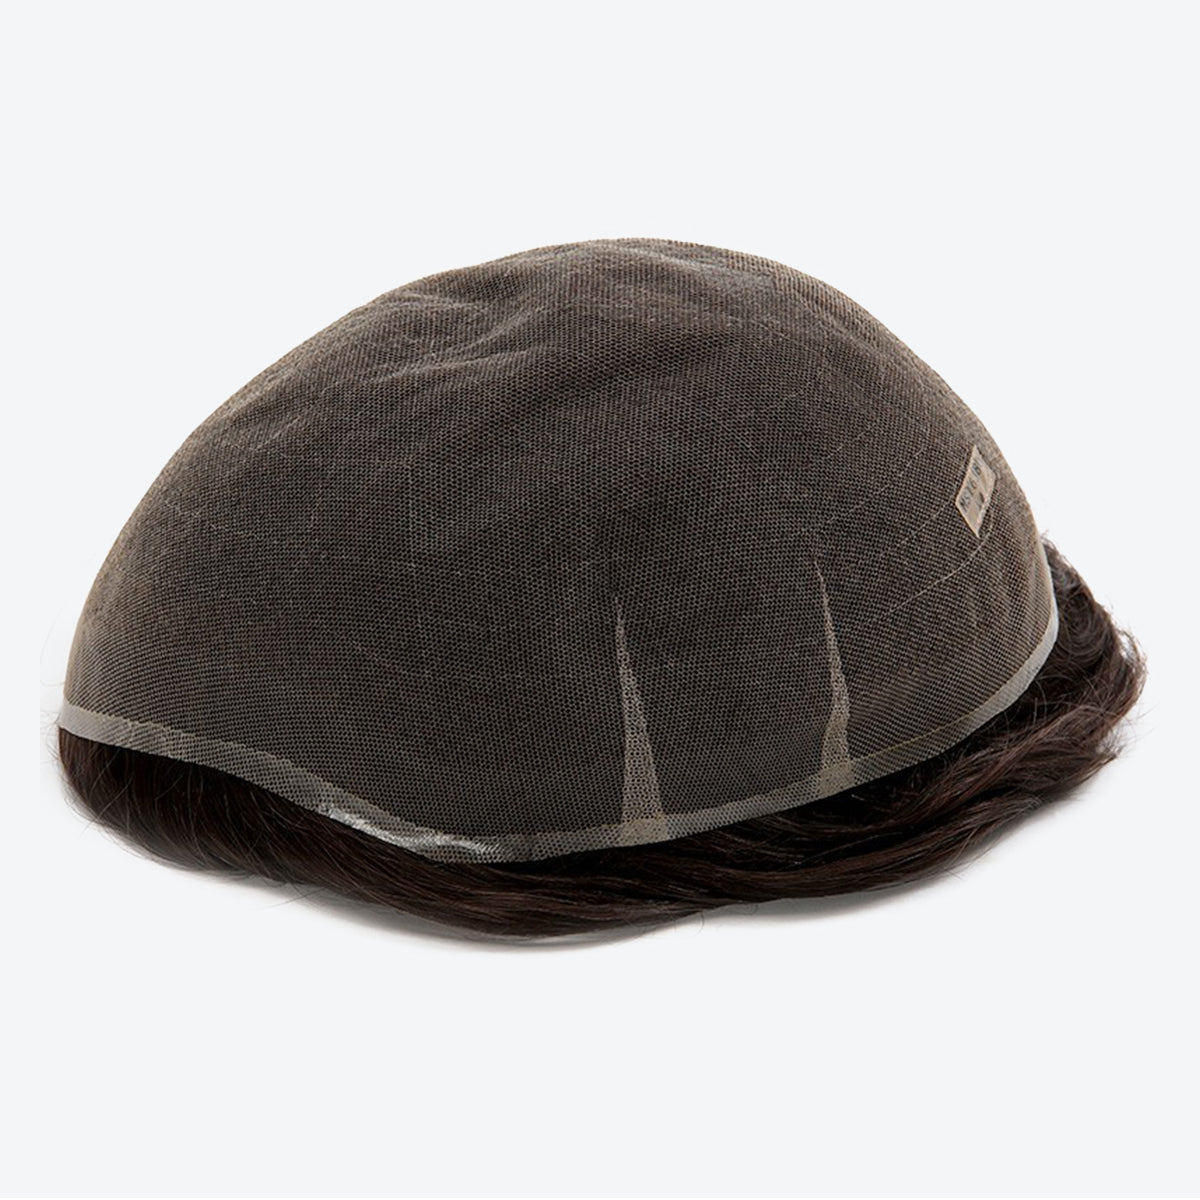
| Full lace | Lace-compatible tape | Place tape only where the tape and system directions allow; pre-cut contours can help follow curves. | Liquid glue directly on lace mesh. | Use a lace-compatible release process and support the mesh instead of pulling. |
| Lace front or lace perimeter | Lace-compatible tape on each lace attachment zone | Match the tape width and shape to the intended front, side, or back zone without overlap or bunching. | Spreading liquid glue onto the lace, or extending a skin-zone method across the lace. | Release one section at a time so the fine front is not stretched. |
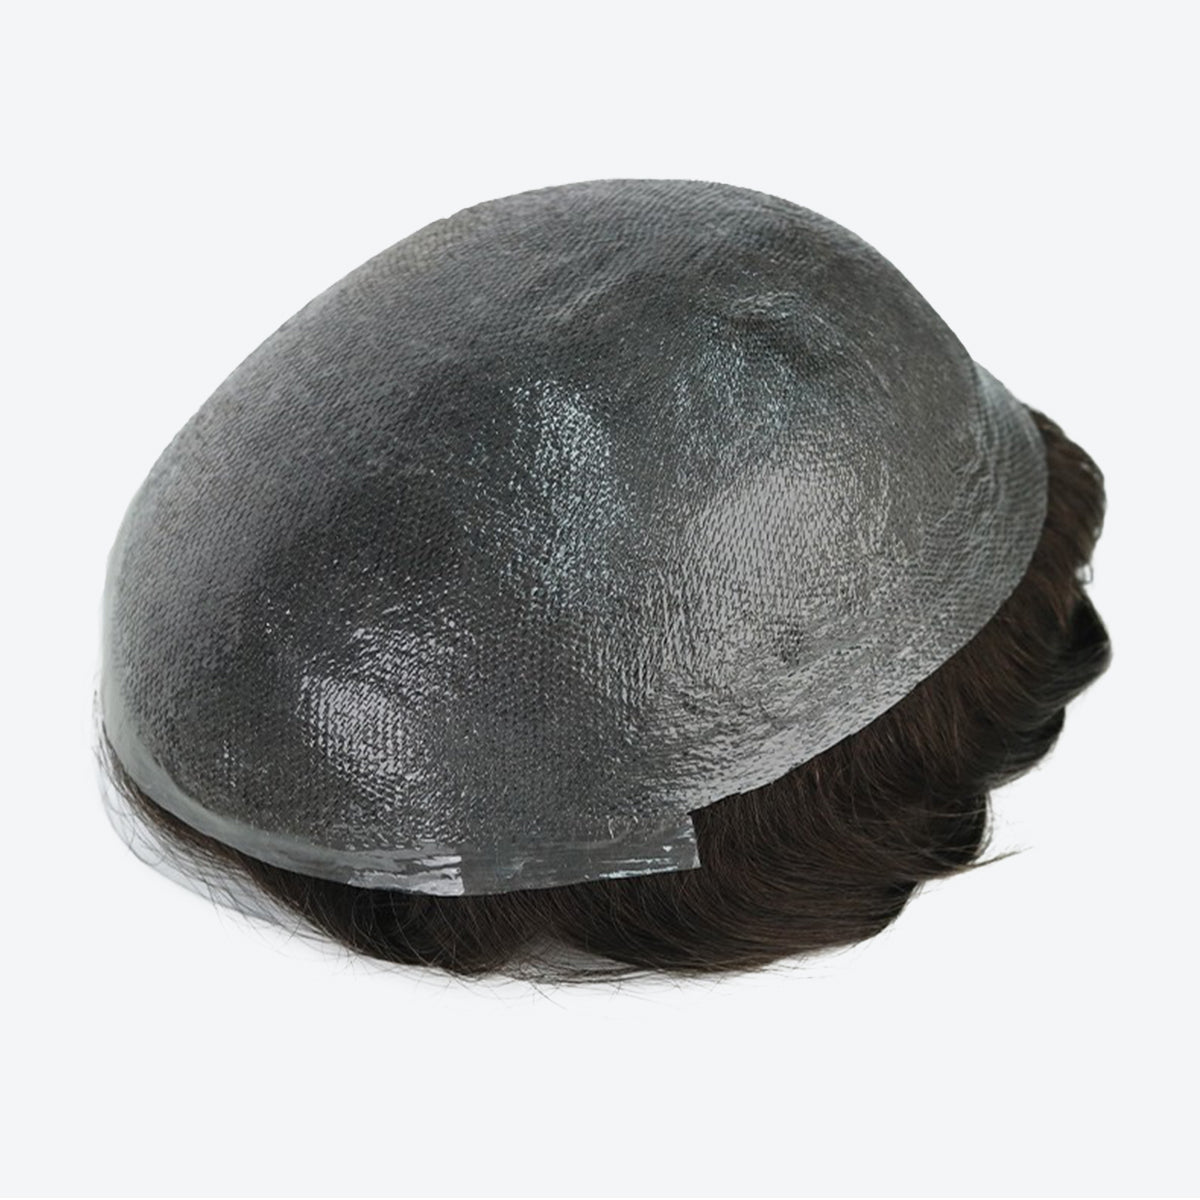
| Skin or poly | Compatible liquid adhesive applied to the scalp | Use thin, even layers only as the live product directions specify. | Tape as the beginner default, especially when the base is thin. | Use the matching remover before lifting; do not peel the base from a dry bond. |
| Thin or ultra-thin skin | Compatible liquid adhesive applied to the scalp | Keep the application controlled and away from the hair; exact steps come from the current label. | Strong tape, aggressive rubbing, scraping, or pulling during removal. | Treat base support as the main priority because delicate film can stretch or tear. |
| Full skin/poly cap | Compatible liquid adhesive applied to the scalp | Plan the bond area and cleanup route before application; more coverage does not remove the need for label compliance. | Using extra product as a substitute for clean preparation or planned maintenance. | Release gradually and clean scalp and base as separate surfaces. |
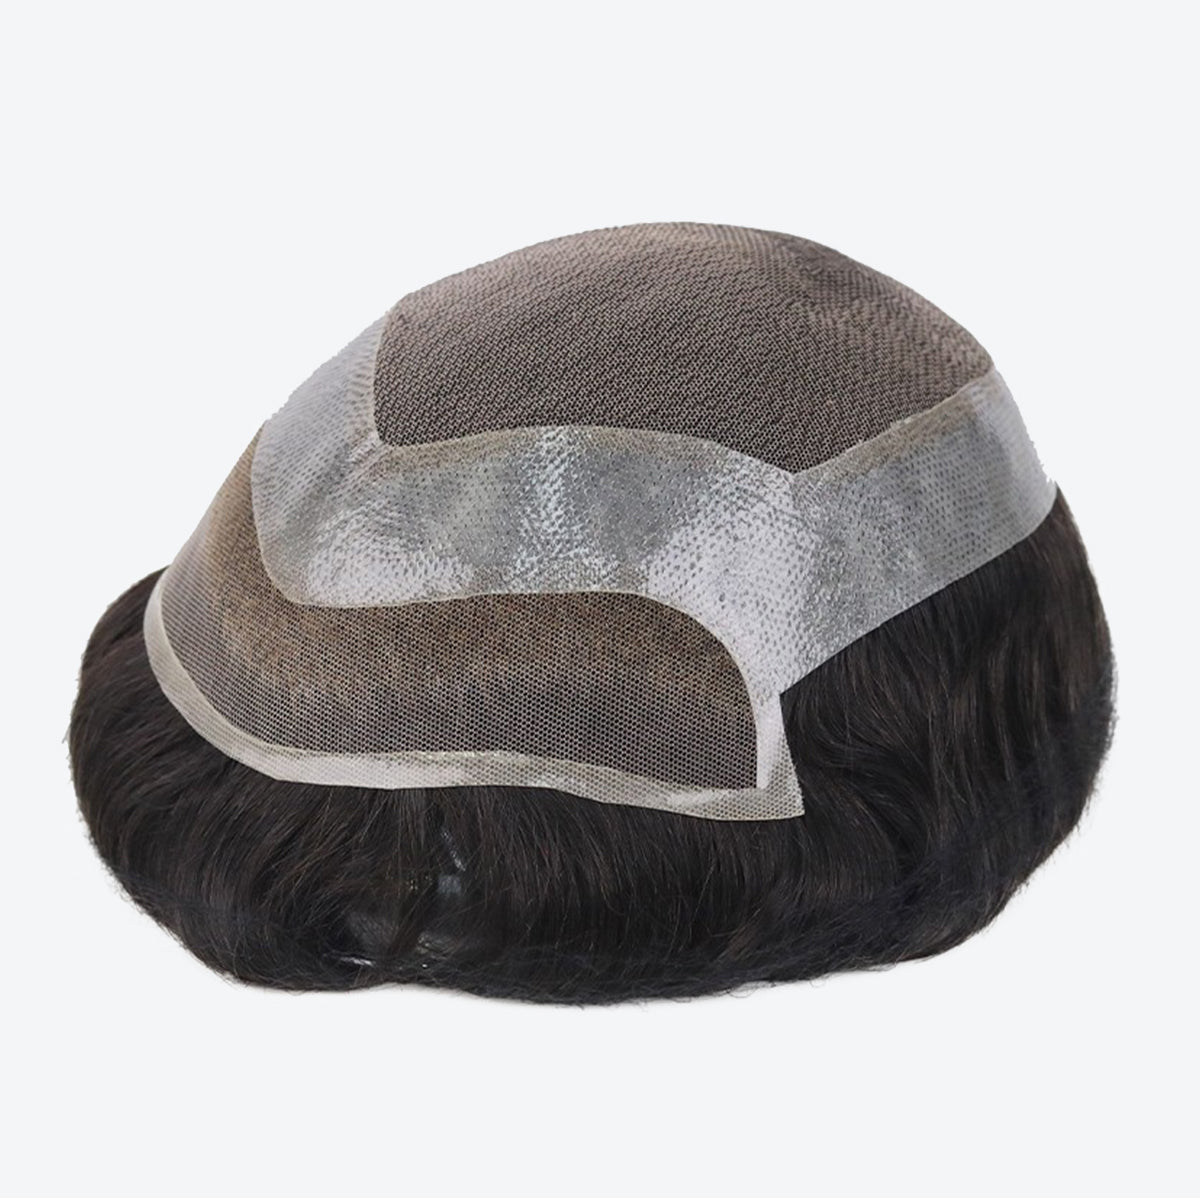
| Mono or supported mesh | Confirm the exact attachment zones before choosing | Use tape on any documented lace zone and liquid adhesive on any documented skin/poly zone. Ask LaVivid support or a qualified professional how the remaining supported-mesh perimeter is intended to attach. | Assuming the word mono permits glue directly on mesh or one method across every material. | Protect the most delicate zone and follow the construction-specific release plan. |
| Hybrid: lace plus skin/poly and/or mono | Zone-specific attachment is an experienced setup | Map every zone first: compatible tape on lace; compatible liquid adhesive on supported skin/poly. Follow the actual system design for mono areas. | Bridging zones with one method, layering tape and glue over the same area, or improvising this as a first-wear routine. | Release each material with its matching method rather than pulling the whole base as one piece. |
Path A: If Your Base Is Lace
Start with one lace-compatible tape and its matching remover. This keeps the first routine easy to diagnose: if an edge lifts or the placement is off, you know which method and zone to reassess. Never apply liquid adhesive directly to lace mesh.
Path B: If Your Base Is Skin, Poly, or Thin Skin
Start with one compatible liquid adhesive and its matching remover. Apply the adhesive to clean, intact scalp in thin, even layers according to the live product directions. Do not make tape the beginner default; the stress of removing a strongly bonded strip can damage delicate film.
Path C: If Your Base Is Mono or Hybrid
Do not choose from the label mono or hybrid alone. Use the product's construction diagram to map lace, supported mesh, and skin/poly zones. If you are new to attachment, confirm that map with LaVivid support or a qualified hair-system professional instead of building a mixed routine by trial and error.
When Does Hair System Tape Make More Sense?
Tape makes sense when your compatible base favors it and you want a placement pattern you can see and repeat. Each piece creates a defined attachment point, which can make alignment easier to plan. During removal, residue is also more localized than a full liquid-adhesive area, although it still needs the correct remover and patient release.
Tape is not automatically the low-risk choice for every base. A strip that holds firmly can also pull firmly. On thin skin or poly, peeling without enough release product can stretch, wrinkle, or tear the material. If a tape edge resists, stop pulling and let a compatible remover do the work according to its directions.
Tape Rolls vs Tabs, Strips, and Contours
- Roll tape can be cut to fit a custom perimeter or section. It gives you sizing flexibility but adds cutting and placement steps.
- Straight tabs or strips are pre-sized pieces for repeatable attachment points. They can reduce preparation time when their dimensions fit your base.
- Contours are curved pieces designed for areas such as the front or back perimeter. The right curve can reduce bunching and overlap.
Choose the format that follows your base edge without wrinkles, gaps, or unnecessary overlap. Format affects application control; it does not override base compatibility or the product label.
Attachment Tape Is Not Base-Repair Tape
Double-sided attachment tape bonds a hair system to the scalp. Base-repair tape is a different, usually single-sided material intended to reinforce a small compatible-base tear or weak area. Repair tape does not replace an attachment adhesive, and it should not be added to an undamaged system as a routine step. If the base is torn, confirm that repair is appropriate before wearing it again.
When Does Liquid Hair System Glue Make More Sense?
Liquid adhesive is often the more suitable beginner method for a compatible skin or poly base. It can create a continuous bond area without asking the wearer to peel a strongly bonded strip from delicate base material later.

That advantage depends on controlled application and complete cleanup. Apply a compatible product to clean, intact scalp in thin, even layers and follow the current label for preparation, drying, placement, and exposure to water. More product is not automatically more secure. Excess adhesive can lengthen cleanup, migrate toward the hair, or leave a visible residue line.
Do not apply liquid glue directly to lace mesh. If your system combines lace with skin or poly sections, each zone needs its own compatible method and placement plan. That setup is better treated as an experienced routine, not a beginner shortcut.
How Do Oil, Sweat, Heat, and Water Change the Decision?
These factors change how an adhesive behaves, but they do not create one universal winner.
Do not use this article to select a product for a diagnosed scalp condition or to invent a fixed activity schedule. It explains the comparison; the exact preparation and water-exposure rules come from the current product directions.
- Oil: Natural scalp oil, skincare, and product residue can weaken the contact surface for tape or glue. Clean and prepare only as the chosen product directs; aggressive over-cleaning can also irritate the scalp.
- Sweat: Heavy perspiration can contribute to edge lift, movement, or tacky residue. Check the perimeter after activity and service the bond rather than covering sweat or residue with more adhesive.
- Heat and humidity: Warm, humid conditions may change maintenance needs. Carry the product-specific care instructions with you when climate or travel changes your normal routine.
- Showering and swimming: Do not assume that an adhesive is waterproof or ready for immediate immersion. Follow the current label's water-exposure guidance for the exact product you use.
If your routine includes frequent training, swimming, or outdoor heat, choose the compatible method you can inspect, release, and clean consistently. A manageable maintenance cycle is more useful than an unverified maximum-hold claim.
What Should Be in Your First Attachment Kit?
Keep the first kit method-specific and complete:
- One base-compatible attachment method: tape or liquid adhesive.
- A remover confirmed for both that adhesive and the scalp/base surfaces it will contact.
- The preparation and cleanup supplies named in the current product directions.
- A written placement plan so the front, sides, and back are aligned before bonding.
Patch-test the adhesive on a separate day before a full application. A successful patch test does not guarantee that irritation can never occur, but it gives you a chance to identify an obvious reaction before combining testing with first-time placement.
Think of attachment as a complete cycle: prepare -> attach -> release -> clean. If you cannot yet explain how you will release the product without pulling the base, the kit is not complete.
What Do Early Failure Signals Mean?
Small warning signs are useful because they tell you to stop and correct the bond before causing more damage.
| Signal | What it may indicate | Safer next step |
|---|---|---|
| An edge or tab begins to lift | Oil, perspiration, residue, placement, or a product/routine mismatch | Release and clean the affected area as the product directions allow; do not press fresh adhesive over contamination. |
| The bond becomes unexpectedly tacky or shifts | Heat, moisture, oil, excess product, or incomplete cleanup may be affecting the bond | Stop adding layers, release with the matching remover, and restart on clean surfaces. |
| Shine or residue appears at the hairline | Tape format, placement, or liquid-adhesive amount may not suit the exposed edge | Remove and reassess the placement rather than disguising buildup with more product. |
| The base stretches, wrinkles, or resists removal | The release process may be putting too much force on the base | Stop pulling, add compatible remover as directed, and support the base during release. |
| Burning, persistent itching, redness, or broken skin develops | The scalp may be reacting or already compromised | Remove the system carefully, stop using the product, and seek qualified medical guidance for a significant or persistent reaction. |
Can Experienced Wearers Combine Tape and Glue?
Some hybrid constructions may call for tape on a compatible lace area and liquid adhesive on a supported skin/poly area. That is a zone-specific plan, not a reason to layer two methods over the same area or put both in a first-time kit.
If you are new to attachment, learn one compatible method first. For a multi-material base, follow the system's design guidance and the live directions for each adhesive, or have a qualified professional map the zones with you.
FAQ
Is tape or glue better for a hair system?
Neither is better for every hair system. A beginner usually starts with compatible tape on lace and compatible liquid adhesive on skin or poly, then considers application control, cleanup, scalp condition, and routine.
What adhesive should I use on a lace hair system?
Start with a lace-compatible tape and a matching remover. Pre-cut contours can simplify curved placement. Do not apply liquid glue directly to lace mesh because it can contaminate or damage the material.
What adhesive should I use on a skin, poly, or thin-skin hair system?
Start with a compatible liquid adhesive applied to the scalp in thin, even layers according to its current directions. Tape is not the beginner default because removal can stretch or tear delicate skin material.
What should I use on a poly hair system if I work out or play sports?
Start with a compatible liquid adhesive because activity does not change the poly-base rule. Check that product's current directions for sweat, heat, and water exposure, then monitor for lift, movement, or tacky residue. Release and clean the bond instead of adding fresh adhesive over sweat or old residue.
Can I use one attachment method across a mono or hybrid base?
Not by default. Map the actual materials first: use compatible tape on documented lace zones and compatible liquid adhesive on documented skin/poly zones. Confirm supported-mono areas from the system directions or with qualified support.
Do sweat and swimming mean I need the strongest adhesive?
No. Sweat, oil, heat, and water can affect any bond. Choose a base-compatible method you can maintain, and follow the exact product label for preparation, activity, water exposure, and removal instead of relying on a maximum-strength claim.
Ready to compare compatible formats and formulas? Browse LaVivid tapes and adhesives, then verify the live product directions before adding an adhesive and matching remover to your kit.


